Last year I was looking for a hutch for our dining room. I didn’t want to buy something brand new, most new furniture just isn’t great quality and I didn’t want to spend a lot of money. I decided to get something used and give it a makeover! If you know me IRL then you know I LOVE a good DIY project, I usually have 3 or 4 (or 10) going at any given time.
I would occasionally browse Facebook Marketplace or Craigslist for someone getting rid of a hutch. I set my top dollar limit at $100 which did limit my options but if I was going to be putting a lot of sweat equity into it I wasn’t willing to spend more. There were a few that looked promising but nothing panned out.
Meanwhile, my parents had been working with my aunt and uncle to get my grandparents’ house cleaned out (my grandparents have both passed away). The dining room set my grandparents owned was nice, not my style but it’s good quality. My parents didn’t know what to do with it though, no one in the family wanted it and in their area they would have been lucky to get $100 for the whole set (hutch, large dining room table with eight chairs). So… I snagged it! The table and chairs will go in storage but I’ve given the hutch new life and a new home in our dining room!


One weekend hubby and I loaded the hutch into his pickup truck and brought it to our house. Unfortunately, I didn’t think to take a “before” pic at my grandparents’ house before we took the top off the base and it was too much work to do it once we got it home so the above pics are what ya get. 😊
Overall I like the lines/shape of the hutch, the top had a mirrored back and glass shelves which I didn’t like. I started working on a plan for what I wanted to do to makeover the hutch. I knew I wanted to paint it black, I’d already decided that I wanted black furniture in the dining room. I wasn’t sure what type of finish I wanted to do though (distressed, aged, matte, glossy… so many options). I also wasn’t sure what to do about the glass shelves and mirrored back. I could make new wood shelves and take the mirror out and install a new backing but I wasn’t really wanting to turn this into a major overhaul, I wanted an easier project that I could get done pretty quickly. So! I decided to cover the glass shelves with a velvet lining and I got some adhesive wallpaper to cover the mirror! In the end this was probably more work than replacing the shelves and backing but…. lessons learned. 😂
For the paint, I decided on a few Amy Howard At Home products. I used their One Step Paint in black, Dust of Ages, and their Clear Wax. I hadn’t used these products before but I thought I’d experiment a little and see how it went and I really liked the final result!
Here’s what I did:
To start I removed the drawers from the base of the hutch and took all the doors off (there are four doors on the top and two on the base), then I removed all the hardware. I then used TSP to clean the whole thing, inside and out. Every surface that was going to be painted was wiped down with TSP. It’s amazing how much grime builds up over the years and I wanted a good, clean surface for the paint to stick to.
Next, I was ready to start painting! The hutch had a glossy finish and with most paints I would’ve needed to sand it down first to give the paint a better surface to stick to. But the Amy Howard At Home paints are a chalky paint, it’ll stick to a glossy surface without sanding it first! One of the many reasons I love chalky paints. You can still sand your piece first if you want to, it’s just an added step.
I started painting the drawers first since I wanted to experiment with the Amy Howard products I’d bought. If I didn’t like how it turned out it would be easier to redo something small like a drawer. I put on a couple coats of the black One Step Paint, it has good coverage and has a matte finish since it’s a chalky paint. I followed that with the Clear Wax, you always want to put a finishing wax on chalky paint because it will scratch off easily without the wax to protect it. When the Clear Wax was partially dry (20 – 30 minutes worked for me) I used a brush to apply the Dust of Ages powder. Once the wax was fully dried I buffed it out with a lint-free cloth. I’d never used anything like Dust of Ages before but I love the way it turned out. It settles into crevices and gives your piece an overall aged look. I feel like it gave the black a greater depth of color, I just love it.

Since the first drawer turned out so good I used the same method on the rest of the hutch: the top, the base, doors, and the rest of the drawers.
The base of the hutch has two doored cabinet-type areas. I didn’t want to paint the inside of those areas in black because it was already dark in there, I was afraid things would get lost and it would be like looking in a dark cave. I used a lighter grey paint for that area, I applied the Clear Wax but not the Dust of Ages.
For the hardware, initially I intended to replace it all and get new door knobs and drawer pulls but I couldn’t find anything I liked. And anything I did find that I kind of liked was a little pricey, I didn’t want to pay a lot for something that was “ok”. I ended up reusing the original hardware (or components of it). Originally it all had a brass finish so I used a matte black spray paint to give it a whole new look.
As I mentioned above, I covered the glass shelves and mirrored backing. For the shelves I choose an adhesive velvet lining like you would use for a drawer or jewelry box. I found some on Amazon for a reasonable price that came on a roll. It was a little tricky to apply but not any more difficult than working with other adhesive drawer liners, except it had a tendency to stretch a little. I had to pull it just enough to pull out bubbles but not enough to stretch it.
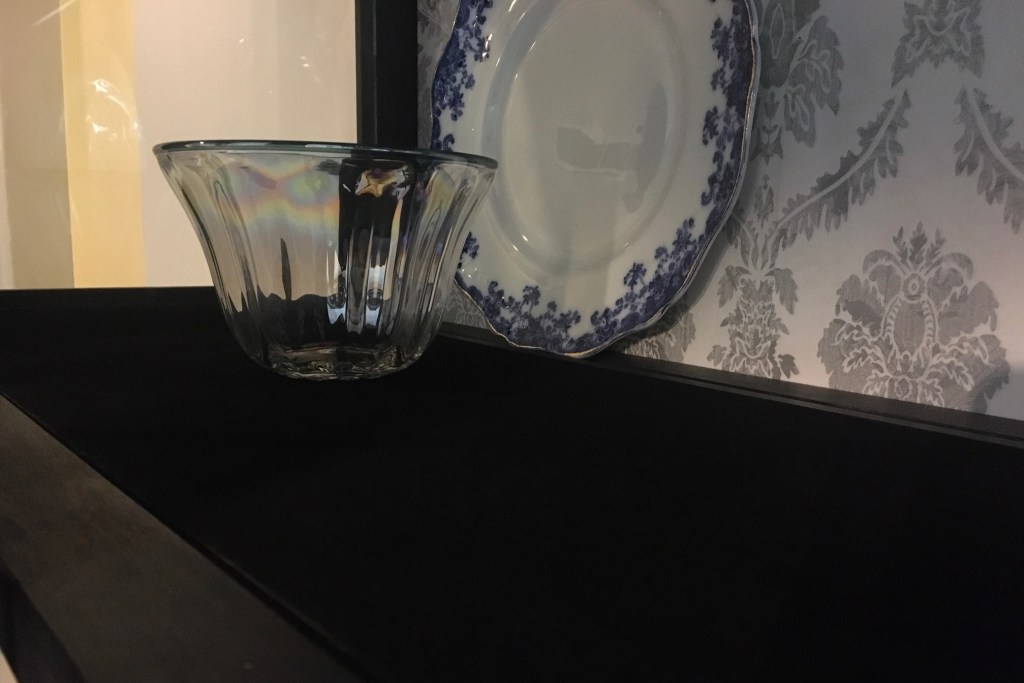
The mirrored backing… oh the mirrored backing.😂 It probably would’ve been easier to install a new wood backing and just paint it with the same finish as the rest of the hutch but I’d already committed to my idea of using an adhesive wallpaper. I found some on Amazon, it’s white with a silvery-grey damask print and had decent reviews. I knew it would be difficult to line the pattern up but I was up for the challenge. It took the better part of a Saturday afternoon to apply the wallpaper on the mirror. The mirrored backing is actually two mirrors and one roll of the wallpaper wasn’t wide enough to cover one section of the mirror, there was LOTS of precision cutting and trying to line everything up. All while the wallpaper was sticking to itself and everything else lol. It all worked out though and I’m happy with the finished result. If you ever do this though, you might want to save yourself the trouble and just go with a wood backing and paint it. Unless you really want a patterned backdrop in your hutch (or bookshelf etc.)
Now it was time to put it all back together! I love how typing it out in this post makes it all seem like it was such a quick process but it actually took me three or four weekends to get it all done. We were also repainting our kitchen cabinets at the time, my hubby handled most of that but I had to unload the cabinets and box everything up. We had a pretty big, disorganized mess going on for awhile so, of course, I decided to rehab the hutch during this. 😂
Here’s the final product!

I’m pretty happy with how it turned out. I got the hand-me-down hutch for free and I spent approximately $100 on supplies: the Amy Howard products were around $55, the damask wallpaper was $16 for two rolls, the adhesive velvet liner was $22 for one roll, and the matte black spray paint was around $5. I already had the light grey paint that I used on the inside of the hutch base, it was leftover from a previous project. As far as leftovers from this project: I used all of the black One Step Paint (it was a quart can), I used almost all of the Clear Wax, and I think I finished off the can of black spray paint. I have lots of Dust of Ages for future projects and the leftover damask wallpaper and velvet lining have been added to my scrap bin. There’s enough of both of those for small projects.
Now onto the next rehab project! I have two pieces waiting in the wings!
Cheers,
D
